Adobe Acrobat PDF Fixer
January 01, 2022
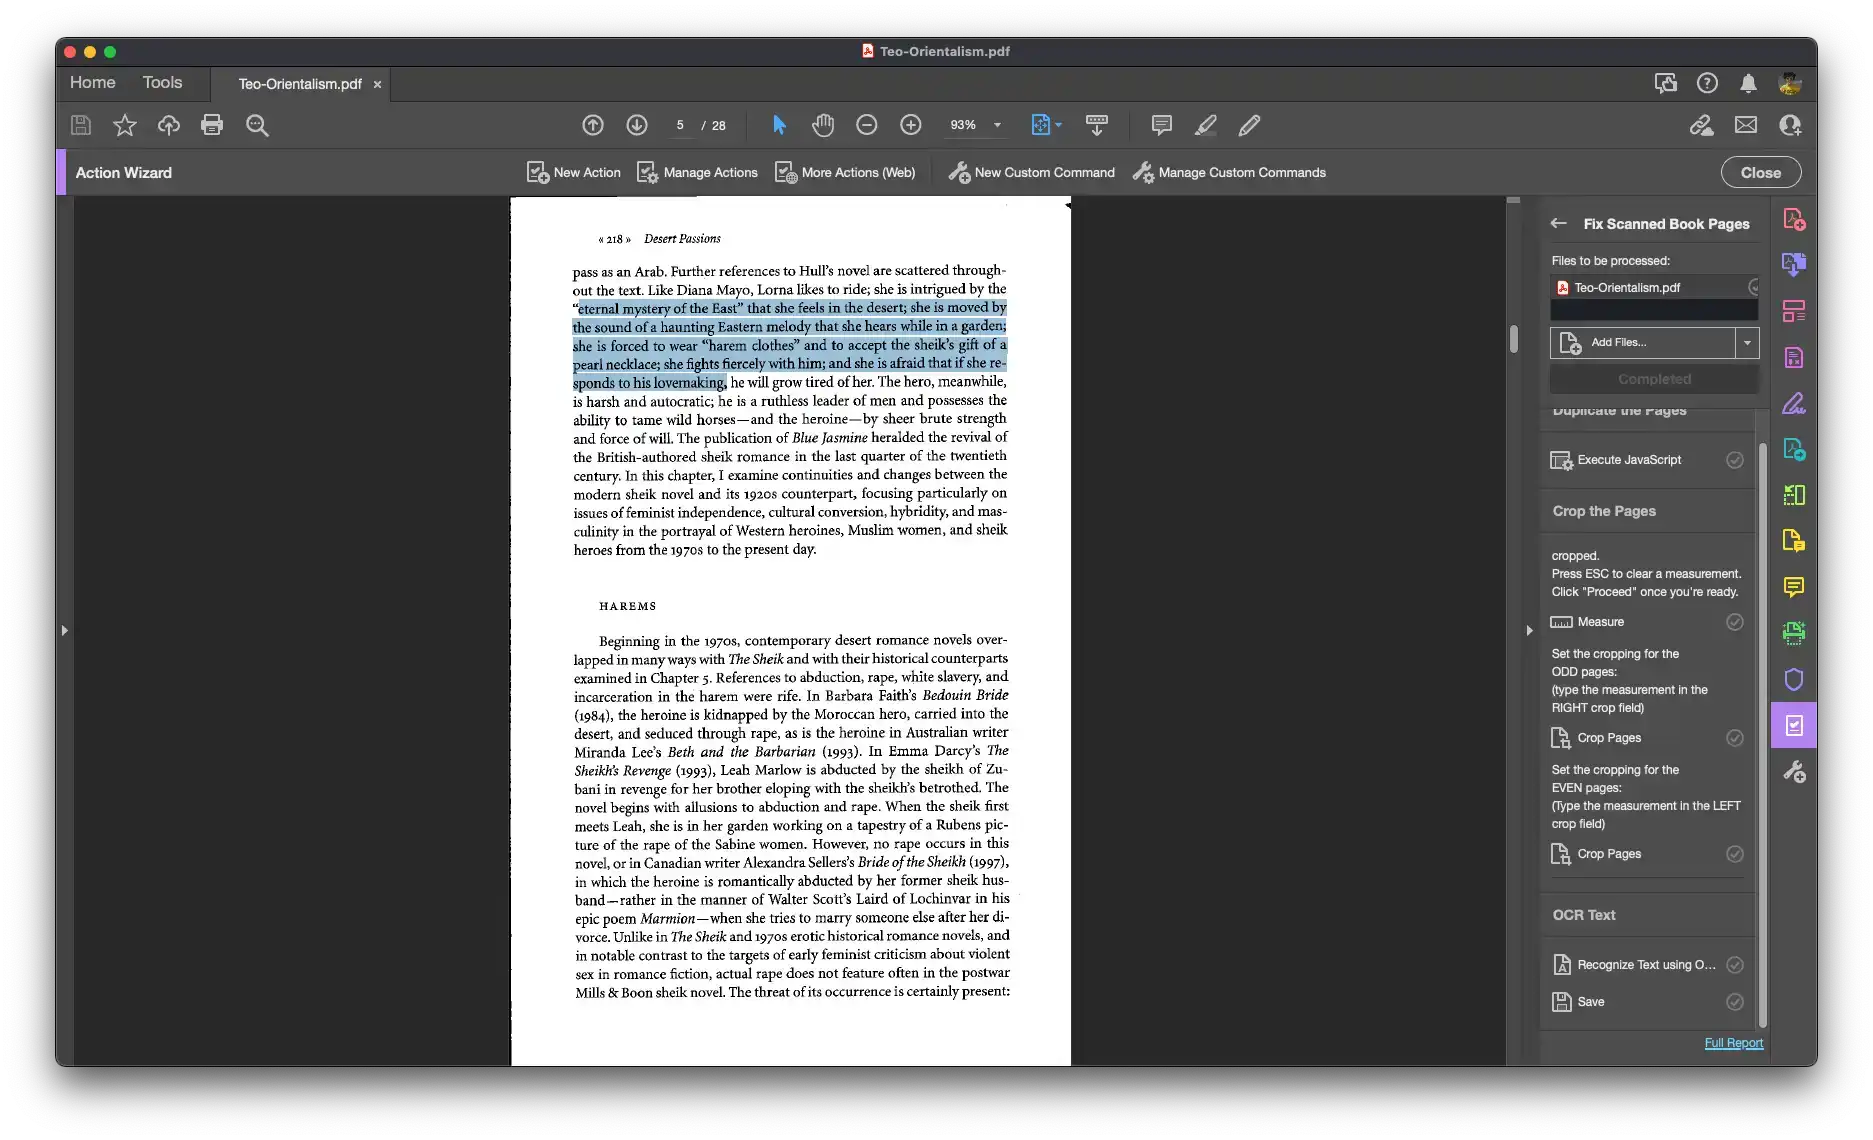
Do you have a professor who provides PDFs that look like they’ve been run through a meat grinder? Are you a professor who provides PDFs that contain multiple scanned pages on a single page?
We’ve all been there – someone has generously provided us with a PDF copy of a book chapter or article. But there’s one problem – none of the text is actually searchable. And each page of the PDF actually contains two pages of scanned text.
PDFs in this format are not accessible to people using screen readers, and keeping multiple scanned pages on each PDF page can make navigating the document inconvenient and cumbersome. Adobe Acrobat can make those PDFs more usable, but manually fixing your scans each time is tedious.
This Acrobat Action will semi-automatically process a scanned PDF to separate each scanned page onto its own PDF page and run the entire document through OCR to create searchable and selectable text.
Requirements
- Adobe Acrobat DC
- FYI – if you’re a student, check if your school provides a license for Acrobat that you can use. If not, you can also try running this on a school library computer.
- A PDF file with "two-up" pages -- where each page of the PDF contains two actual pages. Be sure that all pages are rotated in the same direction.
Installation
- Download the Action file here: Fix Scanned Book Pages.sequ
- Open Acrobat DC
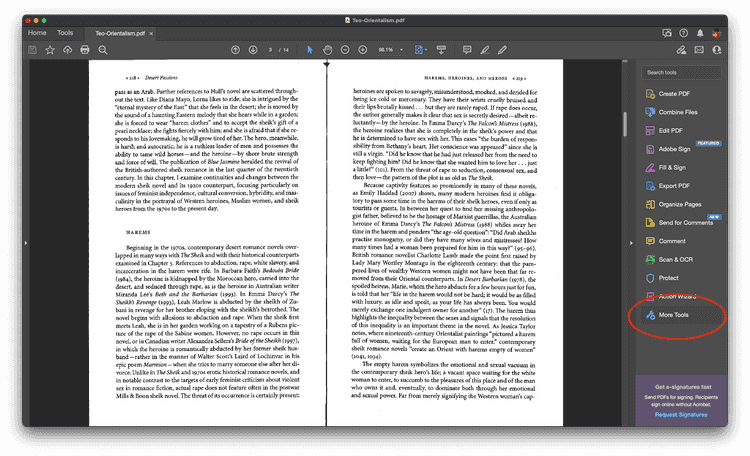
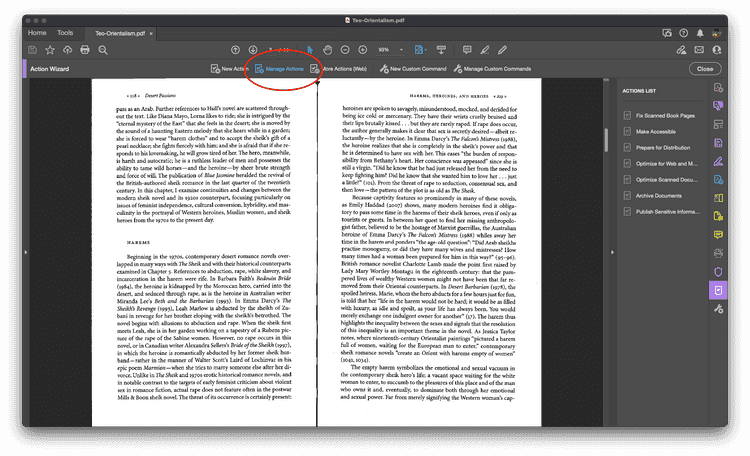
- Open the "Action Wizard" from "More Tools" and select "Manage Actions"
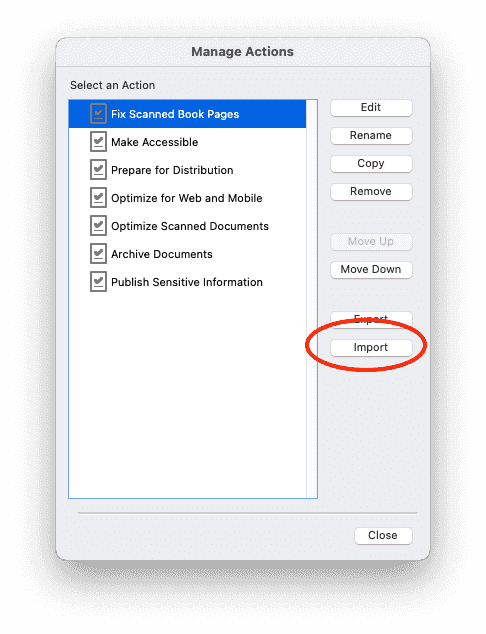
- Click "Import" and select the downloaded file.
tl;dr instructions
- Open a PDF file
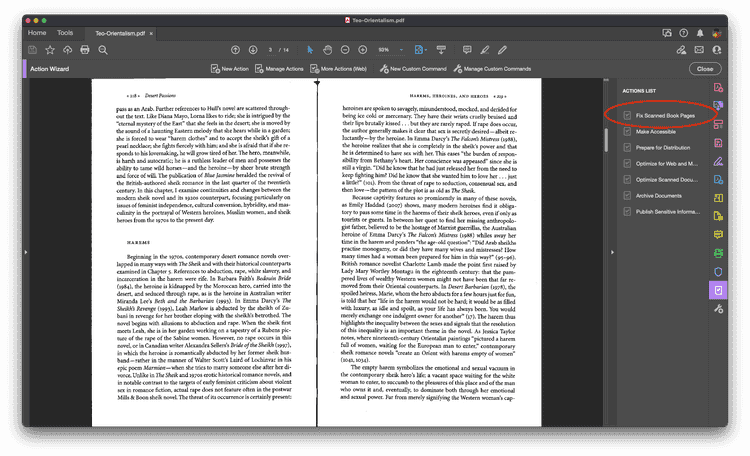
- Run “Fix Scanned Book Pages” from the Action Wizard
- Use the measurement tool to determine how much to crop each page by. This will typically be around 5.5” on each side, but because the crop runs automatically, it is best to check this beforehand.
- Press ESC to clear the measurement and click “Proceed” to continue
- First the ODD pages will be cropped by the amount you enter in the RIGHT field
- Next the EVEN pages will be cropped by the amount you enter in the LEFT field
- Once OCR finishes, the PDF file will be saved
Detailed Instructions
Step One: Open a PDF file in Acrobat. Make sure that all of the pages are rotated correctly and facing the same direction.
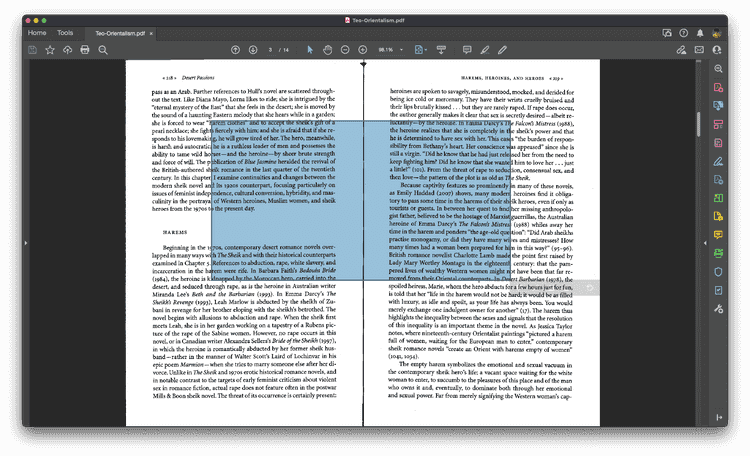
This Action works on PDF files where each page actually contains two pages side-by-side, such as what you get when scanning a book. The Action will split the pages into separate pages as well as run OCR so that the actual text will be searchable and selectable.
Step Two: Open the Action Wizard

You can get to the Action Wizard by clicking on the "More Tools" icon in the tool bar and then selecting "Action Wizard"
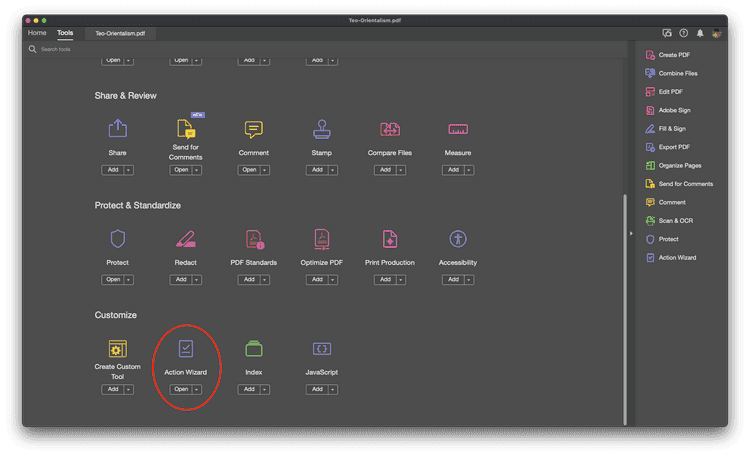
OPTIONAL: Click “add” from “More Tools” to put an icon for the Action Wizard in your toolbar
Step Three: (If you have not yet installed the Action) Click on "Manage Actions"
Click the "Import" button and select the file you downloaded earlier.
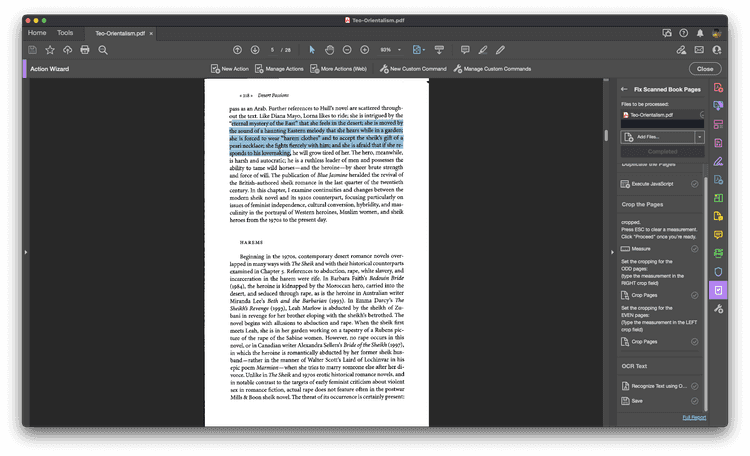
Step Four: Click "Fix Scanned Book Pages" in the Actions menu
Verify the correct file is selected (if you have multiple files open in Acrobat) and click “Start”
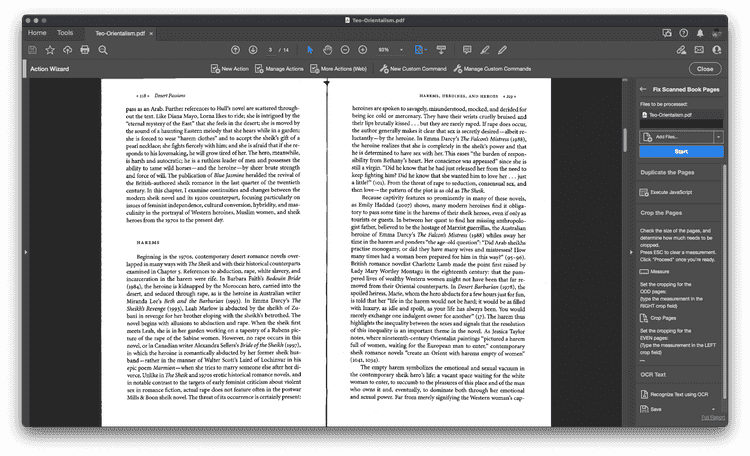
Step Five: First, all of the pages will be duplicated automatically.
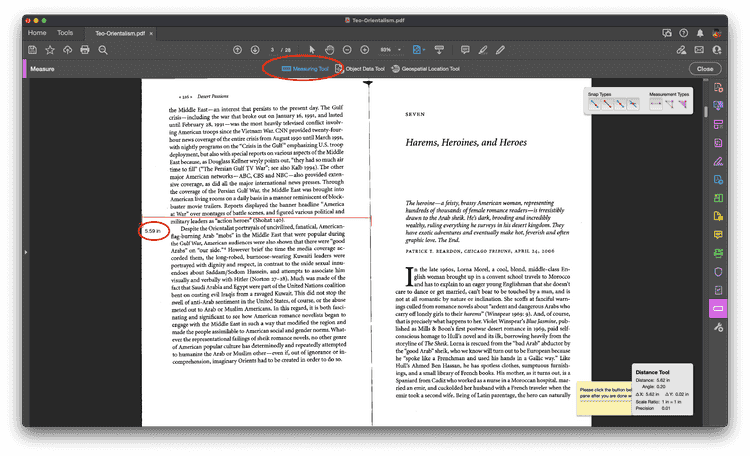
Step Six: Figure out how much you need to crop each page by. The action will pause while giving you a chance to use the measure tool. Measure the distance from the right and left edges to the center of the scan. Keep in mind that this distance may be slightly different for each side.
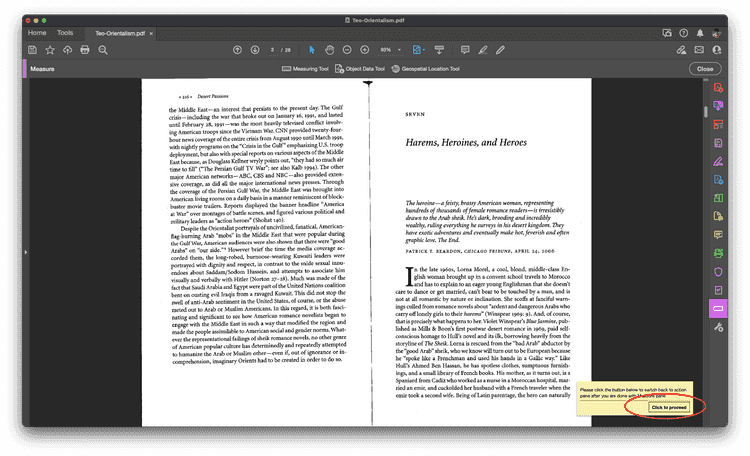
Once you've determined the crop measurements, click "Proceed" to continue.
Step Seven: Enter how much to crop each of the ODD pages. This should be the measurement from the RIGHT edge to the center. Enter this measurement in the RIGHT field.
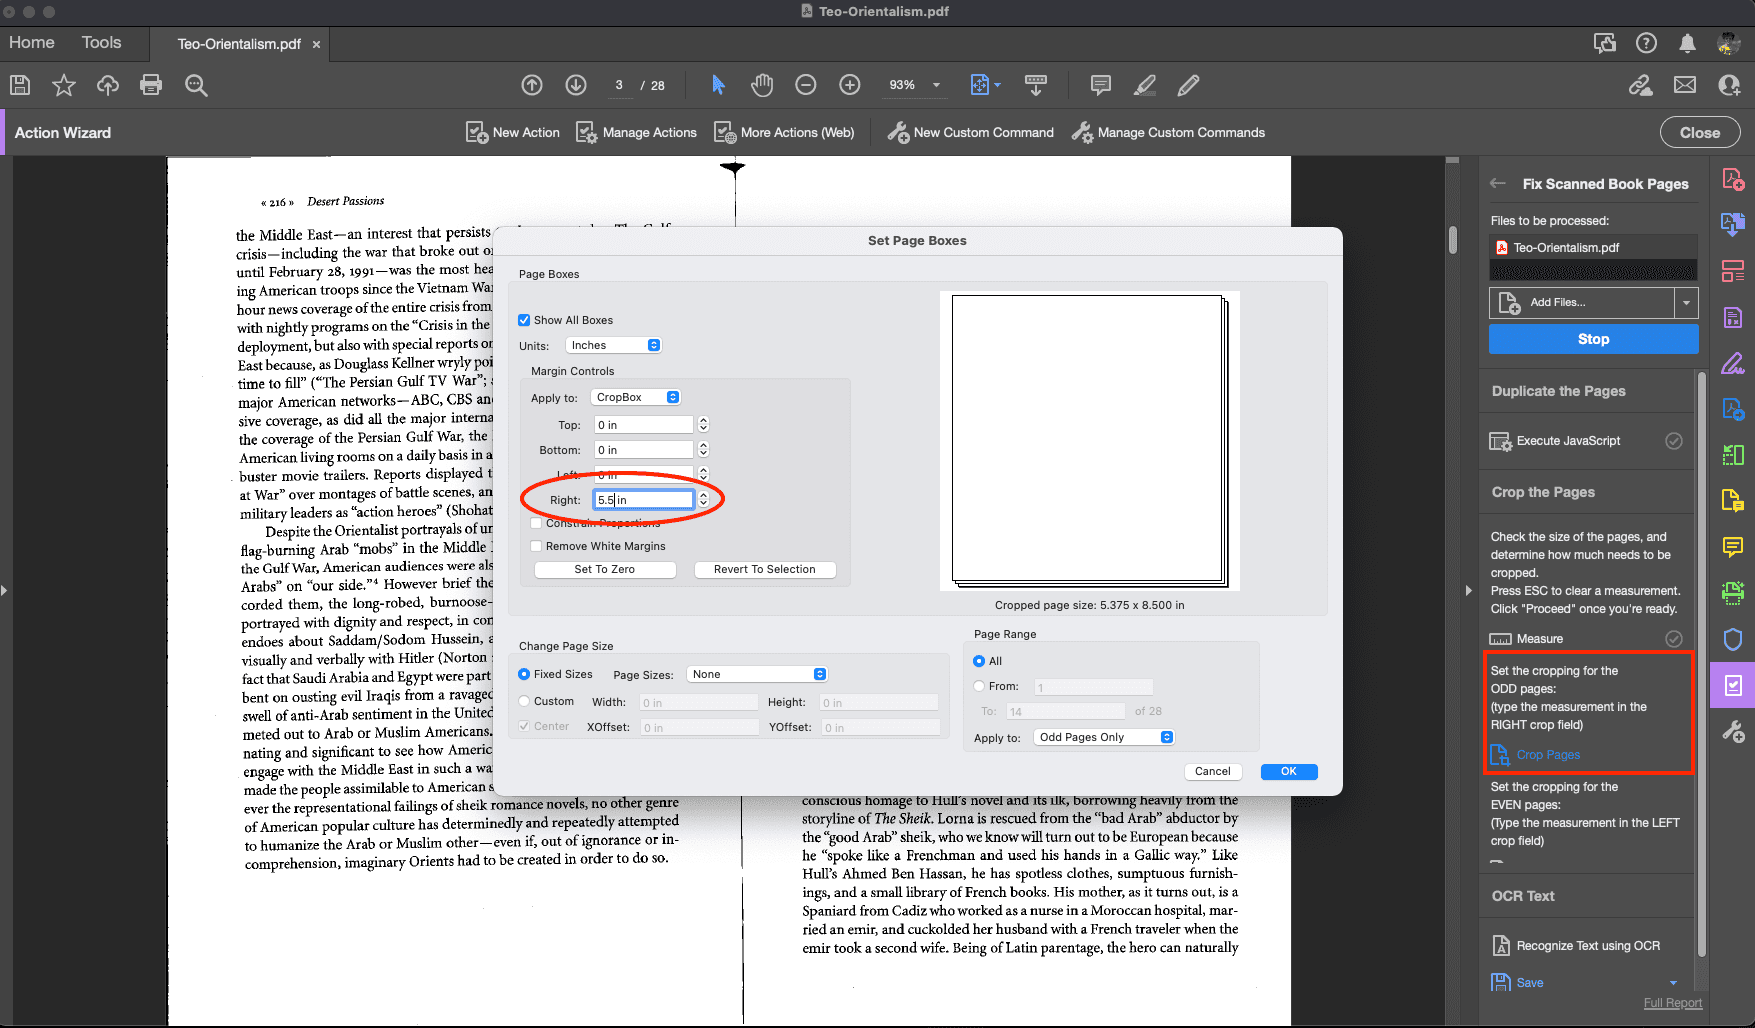
If needed, the Action panel on the right will display a reminder of which measurements to enter where.
Step Eight: Enter how much to crop each of the EVEN pages. This should be the measurement from the RIGHT edge to the center. Enter this measurement in the LEFT field.
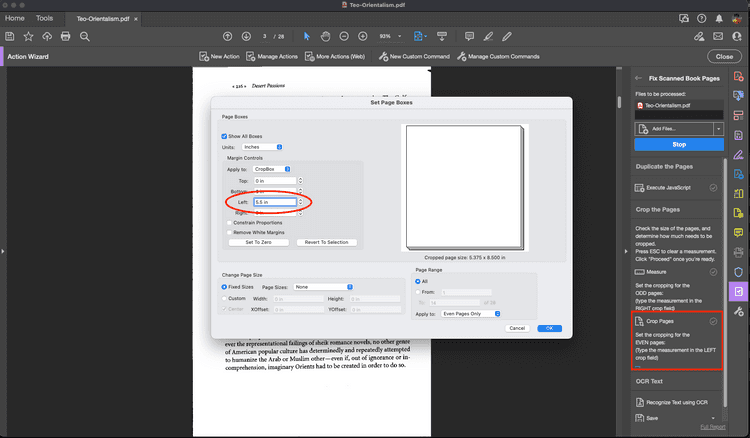
If needed, the Action panel on the right will display a reminder of which measurements to enter where.
Step Nine: OCR and Saving

Once the crops have been applied, the Action will then run Acrobat's optical character recognition (OCR) on the document and save any recognized text. This make take a few minutes depending on the length of your document. Once OCR is completed, the processed PDF file will be saved.
