
Twitter Archive
July 06, 2023

I don't really use Twitter anymore, for a large number of reasons—-many of which have made their way into my ongoing research and other project. But the fact remains that I had previously used Twitter for quite a long time and had posted a lot of content there. Twitter lets you download an archive of all your data, but it isn't formatted or organized in a super useful way. I came across a great open source project which can take this archive and convert it into a basic HTML website.
I archived my own data, and then hosted the resulting files in a Google Cloud Storage bucket. The cost works out to be just a few cents every month, and I can now provide permalinks to all my old Twitter content——now hosted entirely on my own domain.
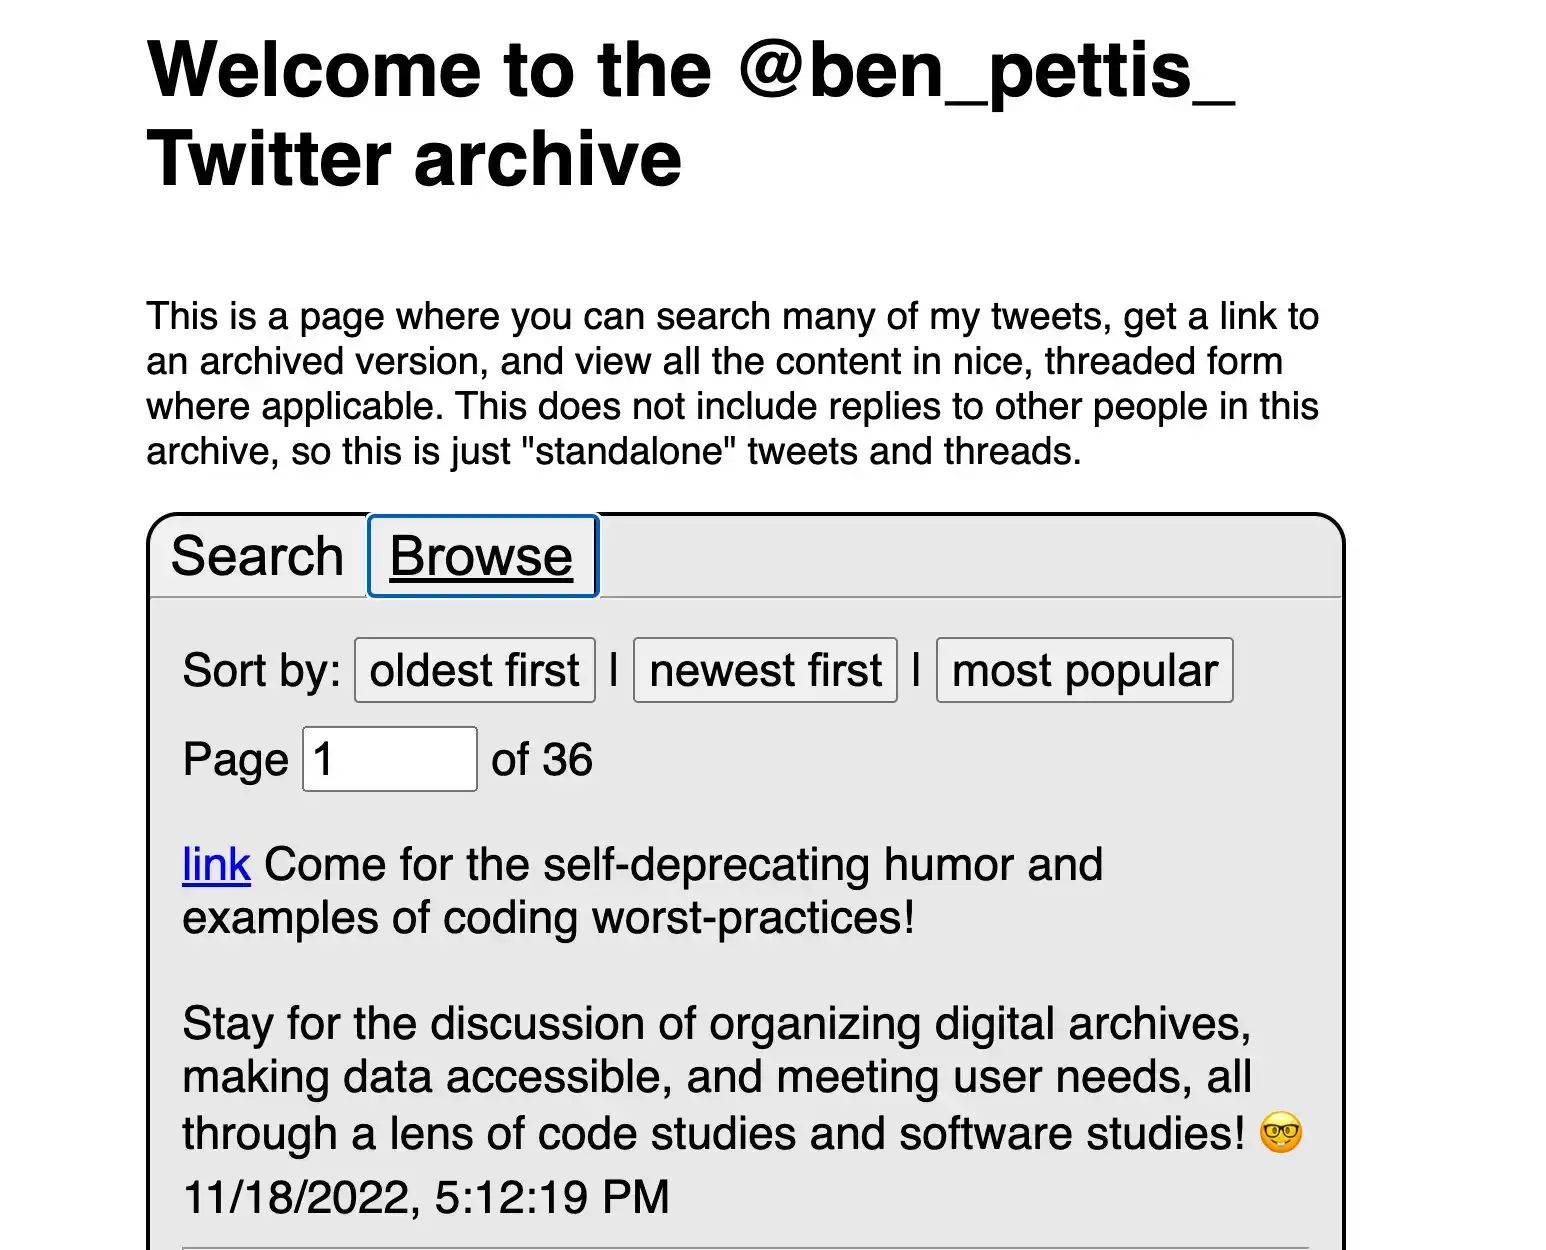
Check it out here: twitter-archive.benpettis.com
If you're interested in doing something similar with your own data, here's an overview of what I did:
You will need:
- a Twitter account
- a domain name (and access to your registrar's DNS settings)
- a Google account that you've set up to use with Google Cloud
Creating and Hosting your Twitter Archive
Step One: Download a Copy of your Twitter data.
You can request an archive by logging into your Twitter account in a desktop browser, going to your accout settings, and choosing the option to download all your data. You'll have to verify your password and wait a while before the archive is ready. For me, it took about 20 hours before I was able to download my .zip file.
Step Two: Set DNS Records
While you're waiting for the .zip file to be prepared, you can work on setting up the Google Cloud storage and the domain name. First, create the subdomain that you will use to host the Twitter archive. For me, I wanted to use twitter-archive.benpettis.com, so I went to my registrar (name.com) and created a CNAME record for twitter-archive with a response of c.storage.googleapis.com -- the specifics of this process will vary depending on your registrar.
Step Three: Create a Storage Bucket
In the Google Cloud Console, go to Cloud Storage and create a new storage bucket. Give it the same name as whatever you chose for the subdomain. In my case, this was twitter-archive.benpettis.com.
NOTE: if you haven't yet done so, you'll need to verify that you own the domain name in question. This article has some useful instructions on how to do this.
When setting up the storage bucket, you can use whatever settings you'd like. I chose single-region because it's cheaper and I don't really care that much about latency or uptime. It's just my archive after all. Be sure to turn OFF "Public Access Prevention" and set the default storage class to "Standard"
Step Four: Test the URL
Once the bucket is created, you can check that the URL is mapped correctly by navigating to your domain name. You should just see some XML and an error message about permissions:
<Error>
    <Code>AccessDenied</Code>
    <Message>Access denied.</Message>
</Error>
This is because we haven't actually yet enabled public access to the storage bucket. And even if we had, there isn't anything there yet to be displayed anyway!
Step Five: Convert your Twitter Archive
Once you have the .zip file, head to Darius Kazemi's website. This website will take a twitter archive and convert it into a basic HTML + JS website to search and display its info. When setting it up, you'll need to provide the same domain name that you set up previously in order to build the links correctly. Once this is done, you'll get a new .zip file.
NOTE: Everything in Kazemi's project runs locally - your archive is not uploaded anywhere, and the processing all happens on your computer. You can inspect the source code at https://github.com/dariusk/twitter-archiver
Step Six: Upload the Files
Unzip the new .zip file, and the upload all of its content into your Google Cloud Storage bucket. I just dragged the files into the Cloud Console web interface and waited a while. If you want to upload faster, you could use the gcloud command line tools, but I always forget the syntax anyways and don't really mind waiting.
Step Seven: Enable Public Access
Once everything is uploaded, you'll need to enable public access to everything. In the Google Cloud Console, go to your storage bucket and select the "Permissions" tab. Click "Grant Access" and in the "New Principles" box type allusers. Then, select "Legacy Storage Object Reader" from the role menu. This will let anyone view a file in the bucket without needing to log in.
You'll get a warning that you're enabling public access, so go ahead and make sure this is what you want and then click "Allow Public Access"
Step Eight: Set the Default Page
Currently, we can access the archive by going to https://twitter-archive.benpettis.com/index.html but it will not work if we just type https://twitter-archive.benpettis.com/. This is because we haven't yet configured the storage bucket to serve the index.html page for general requests. To do this, just go "up" a page in the Storage Console to view the list of all your storage buckets. Find the one you created for the archive, and select the options menu (three dots) at the far right. Choose "Edit website configuration" to get to the options for the index and 404 pages. Under "Index (main) page suffix" you'll just need to enter index.html
Once you save the settings, you'll be able to access your archive at your subdomain!